How to photograph a handwritten recipe for laser engraving
A handwritten recipe card — in flour-dusted cursive, with crossed-out measurements and a stain from the actual kitchen — is one of the most personal things you can preserve. When laser-engraved onto walnut, maple, or slate, it becomes an heirloom that outlasts the paper it came from.
The quality of the finished piece depends almost entirely on the photo you send. This guide covers everything: lighting, phone settings, flattening curled paper, fixing faded ink, and the file formats that preserve the detail a laser needs.
Why handwritten recipes make the best engraved gifts
Typed recipes are clean. Handwritten recipes are alive. They carry the pressure of the pen, the shorthand a cook invented, the correction where they realized they meant tablespoons instead of teaspoons. That imperfection is exactly what makes them irreplaceable.
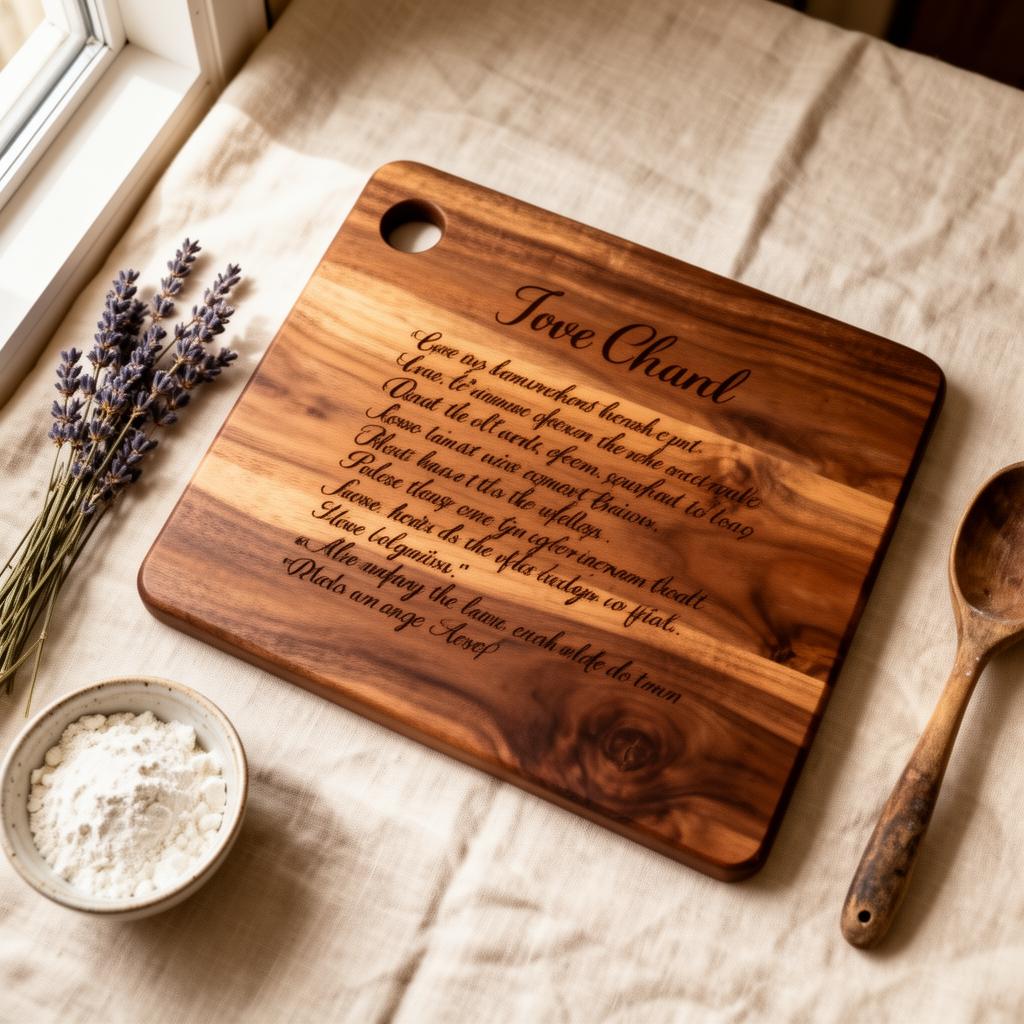
When we engrave a handwritten recipe onto a cutting board or wall plaque, we trace every stroke faithfully — not as a font, but as the actual movement of someone's hand. The result feels like the original writer reached across time and signed the wood.
These pieces are most often ordered for memorials, Mother's Day, weddings, and housewarmings. A recipe engraved in Grandma's handwriting becomes a tangible connection. It hangs in the kitchen not as décor, but as presence.
Equipment you need (most of it is already in your kitchen)
You do not need a professional camera. You need:
- A smartphone from the last five years — any modern phone shoots at a resolution high enough for engraving.
- A large window with indirect daylight — north-facing windows on an overcast day are ideal. Avoid direct sun and ceiling fixtures.
- A clean, flat surface — a kitchen counter, dining table, or white poster board.
- A heavy book or weights — to press curled paper flat without creasing it.
- Masking tape or removable adhesive — to hold the card down gently without residue.
- White paper or poster board — as a background to increase contrast and isolate the recipe from the surface underneath.
Optional but helpful: a second phone as a weight, a tripod or stack of books to hold the camera perfectly parallel, and a sheet of thin white fabric to diffuse harsh window light.
1. Flatten the paper first
Old recipe cards curl at the edges. Notebook pages resist lying flat. Curled paper photographs with shadows along the raised edges, and the laser reads those shadows as dark lines — smudges that become permanent in the engraving.
For stiff or moderately curled cards: Place the card under a heavy book for at least an hour. A cast-iron skillet works too. Do not iron directly; steam and heat can damage old ink.
For fragile or very old paper: Tape the corners gently to a clean white sheet. Use low-tack masking tape or painter's tape. Pull a small loop so the adhesive barely touches the paper. Avoid plastic sleeves — they add reflections and soften detail.
For spiral-bound notebook pages: Tear or cut the page out carefully along the perforation. If the recipe is deep in a bound book, open it flat and weigh the spine with a heavy object so the page lies flush. Photograph only the recipe area.
Do
- Press under a book for 1+ hours
- Tape corners to white backing
- Use low-tack or painter's tape
- Work on a clean, dry surface
Don't
- Iron or apply heat
- Use plastic sleeves or lamination
- Fold or crease to force flatness
- Photograph while still curled
2. Lighting: the single most important factor
Bad lighting destroys more recipe photos than bad cameras. The laser engraving process depends on clean contrast between the ink strokes and the paper. Uneven lighting creates false shadows that the laser interprets as part of the artwork.
The ideal setup: Lay the recipe flat on a white surface near a large window. Shoot on an overcast day or when the sun is not hitting the window directly. The light should come from the side — left or right — not from behind you or from above.
Why side light matters: Side light creates subtle shadows in the indentations of the paper, which helps the camera capture the texture of the writing. Overhead or front-on light flattens these details.
Avoid:
- Direct sunlight — creates hard shadows and blown-out highlights.
- Ceiling lights — especially warm LEDs or fluorescents that cast a yellow or green color shift.
- Flash — phone flash creates a hot spot in the center and dark corners, plus reflections from glossy ink.
- Mixed light sources — window light plus a lamp creates conflicting color temperatures that are hard to correct.
If you only have harsh sunlight: Hang a thin white curtain or bedsheet over the window to diffuse it. The light becomes soft, even, and directional — exactly what you want.
3. Shoot from directly above — why angle ruins everything
The most common mistake after poor lighting is shooting at an angle. When the camera is not parallel to the paper, the writing warps into trapezoids. Letters on the far side shrink; letters on the near side swell. This perspective distortion is tedious to correct and weakens the final engraving.
To shoot flat: Hold the phone directly above the center of the recipe, lens pointing straight down. Imagine a plumb line from the lens to the paper. If the card is rectangular, all four corners should look equal-sized in the frame.
Steady the phone: Rest your elbows on the table. If you have a second pair of hands, ask them to hold the phone while you check the framing. A stack of books with the phone propped between them works as a makeshift tripod. Some kitchen cabinets have an under-shelf where you can brace the phone pointing down.
Check before you shoot: Zoom in on a few letters on your screen. Are they all the same height? Is the spacing even across the width? If one side looks compressed, the phone is still tilted.
4. Fill the frame and maximize resolution
The more pixels that fall on each letter, the sharper the engraving. A photo where the recipe fills 80% of the frame will engrave with noticeably finer detail than one where the recipe is a small rectangle in the center.
Move closer, don't zoom: Digital zoom crops the sensor and reduces quality. Physically move the phone closer to the recipe instead. Keep a small white border around the card — about the width of a finger — so the edges are clear and the background is consistent.
Focus on the writing, not the card: Tap your phone screen on the middle of the recipe text to set focus. Make sure the sharpest part of the image is the handwriting itself, not the table or your fingers at the edge.
Take multiple shots: Shoot the whole recipe, then shoot tighter crops of sections with the smallest or faintest writing. Send all of them. We can composite the sharpest details from each.
5. Maximize ink-to-paper contrast
Faded pencil on yellowed paper is the hardest case — but also the most common. The laser engraving software traces edges, and faint edges are harder to detect. Your job is to make the strokes as bold as possible before sending the file.
Physical tricks:
- Side-light at a low angle — raking light across the page catches the physical indentations of pencil or ballpoint ink, making them read darker.
- Shoot on a neutral background — white or light gray backing reflects light up through thin paper, increasing apparent contrast.
Digital tricks (in your phone's editor):
- Increase contrast by 20–40%. Do not overdo it — you want the strokes darker, not the paper gray.
- Pull shadows down slightly to deepen the ink lines.
- Brighten highlights to push the paper toward pure white.
- Adjust white balance to neutral if the image looks yellow or blue.
What not to worry about: The paper does not need to look "original." We are extracting line work, not reproducing the card. A high-contrast black-and-white image is often easier to trace than a faithful color photograph.
6. Phone camera settings that matter
Most modern phones default to settings that work well, but a few manual adjustments can make a significant difference.
- Turn off the flash — always. Flash creates reflections, hot spots, and uneven exposure.
- Shoot in the highest resolution — check that your camera app is not set to a compressed or social-media-optimized mode.
- Use HDR if available — HDR helps balance bright paper and dark ink in high-contrast scenes. Turn it off only if it creates visible halos around letters.
- Enable grid lines — the rule-of-thirds grid helps you center the recipe and keep the phone parallel.
- Tap to focus and expose — tap the text area before shooting. Some phones let you swipe to adjust exposure after tapping; pull it down slightly if the paper looks blown out.
- Shoot in HEIC or highest-quality JPG — avoid RAW unless you plan to edit heavily; RAW files are large and rarely necessary for recipe photography.
7. File formats and how to send without compression
Texting and social media apps compress photos aggressively. A 4MB original becomes a 200KB thumbnail with smeared detail. That smearing translates directly into fuzzy engraving.
Best formats, ranked:
- HEIC or high-resolution JPG — the original camera file, straight from the phone. Best detail-to-size ratio.
- PNG — lossless, excellent for scans or edited images. File size is larger but quality is perfect.
- PDF — fine for flatbed scans. Preserves resolution well.
- TIF — overkill for most phone photos, but ideal for professional scans.
How to send without compression:
- Email the original — attach the file directly from your Photos app. Do not paste into the email body; that often compresses it.
- Upload to a shared drive — Google Drive, Dropbox, iCloud. Share the link.
- Airdrop (Mac/iPhone) — preserves full quality when transferring between Apple devices.
- Avoid: SMS/MMS, WhatsApp, Instagram DMs, Facebook Messenger, Snapchat — all compress heavily.
Pro tip: If you have both a scan and a phone photo, send both. Scanners excel at even lighting and flat documents; phones excel at capturing texture and indentation. We often composite the best of both.
8. Common mistakes and how to fix them
Shadows from your hands or the phone
Fix: Shoot with the light coming from the side opposite your body. Hold the phone with both hands, elbows tucked, to minimize the shadow footprint.
Yellow or blue color cast
Fix: Shoot in pure daylight. If stuck with mixed lighting, correct white balance in your phone's editor (look for "warmth" or "temperature").
Glare from glossy ink or plastic
Fix: Remove plastic sleeves. For glossy fountain-pen ink, tilt the phone slightly or change the light angle until the reflection disappears.
Faint pencil that disappears
Fix: Use low side-light to catch the physical indentation. Increase contrast in editing. If the pencil is truly gone, trace over it lightly with a soft graphite pencil and re-photograph.
Blurred text
Fix: Tap to focus on the text before shooting. Hold the phone with two hands and brace your elbows. Turn on stabilization if your phone offers it.
Cropped edges or missing words
Fix: Include a small margin around the entire recipe. It is better to crop later than to realize a corner word was cut off.
9. What happens after you send the photo
Once you submit your custom order through our request form, here is the timeline:
- Review & quote (1–2 business days) — We look at your photo, assess the engraving complexity, and send a fixed quote. No surprises.
- Vector tracing — We manually trace the handwriting into clean vector lines, preserving every loop, pressure variation, and stray mark that makes it personal.
- Digital proof — You receive a proof showing exactly how the engraving will look on your chosen material. Two rounds of revisions are included.
- Laser engraving — Once approved, the file goes to the laser. We engrave at the depth and speed calibrated for your specific wood or slate.
- Finishing & shipping (5–7 business days) — The piece is sanded, oiled if wood, cleaned, and packed. You receive tracking when it ships.
10. Gift occasions that call for an engraved recipe
These pieces are ordered year-round, but certain occasions carry extra weight. If you are reading this because you need a gift, here is where a handwritten recipe engraving fits:
Memorial & Remembrance
A recipe in a late relative's handwriting, engraved onto walnut or slate, becomes a permanent kitchen presence. Often ordered with a name and dates.
Mother's Day
Mom's actual cookie recipe, in her handwriting, on a cutting board she will use. One of the most emotionally impactful gifts we make.
Weddings & Anniversaries
The bride's grandmother's pie recipe for the newlyweds. Or a couple's first recipe together, written in one partner's hand.
Housewarming
A family recipe on a maple serving board — functional art that turns a new kitchen into a home.
Milestone Birthdays
50th, 60th, 70th — a recipe from childhood, engraved, is a time capsule that outlasts almost any other gift.
sobriety Anniversaries
A handwritten affirmation, quote, or milestone date engraved onto a daily reminder piece.
Frequently asked questions
Can you engrave a recipe written in pencil or faded ink?
Yes — pencil and faded ballpoint are both workable. The key is contrast. A well-lit, high-resolution photo lets us trace even faint graphite lines. If the writing is very light, shoot in strong side-light so the indentations catch shadows, and increase contrast slightly in your phone's editor before sending.
What if the recipe card is torn, stained, or yellowed?
Stains and yellowing do not affect the engraving. We extract only the handwriting, not the paper background. Tears near the text can sometimes be digitally repaired during tracing. If the damage obscures letters, tell us what the missing words are and we can restore them in the vector artwork.
Do I need a scanner, or is a phone photo good enough?
A modern smartphone photo is usually enough. Scanners are excellent for flat, even results, but a phone taken in good daylight with the lens parallel to the paper can match or exceed scanner quality — especially for textured or indented writing.
What materials can a handwritten recipe be engraved onto?
Walnut and maple cutting boards are the most popular. We also engrave slate coasters, bamboo serving trays, walnut wall plaques, and acrylic for LED signs. Each material gives a different mood: walnut feels rustic and heirloom; slate is modern and memorial; acrylic glows.
How long does the whole process take?
Once you submit a custom order with your photo, we email a digital proof within 1–2 business days. After you approve, the piece ships in 5–7 business days. Rush options are available if you have a hard deadline like a wedding or memorial service.
Can I engrave a recipe that is still in a cookbook or notebook?
Yes, but the page must be photographed or scanned flat. Spiral bindings and thick spines create shadows and distortion. If possible, photocopy or photograph the open page while weighing it flat. We only need the recipe area, not the whole page.
Will the engraving look exactly like the handwriting?
We trace the actual strokes from your photo, preserving every loop, pressure variation, and irregularity that makes handwriting personal. The result is a faithful vector reproduction — not a font approximation. Two rounds of revisions are included if any letter needs adjusting.
What file format should I send?
Original camera files (HEIC, high-resolution JPG) are ideal. PNG and PDF are also fine. Avoid screenshots and compressed chat-app images — they lose the fine detail that makes the engraving crisp. If unsure, email the file directly rather than texting it.
Ready to preserve a recipe forever?
Photograph the recipe using the steps above, then send it through our custom order form. We'll quote your engraved piece within 1–2 business days and email a digital proof before the laser ever touches the wood.